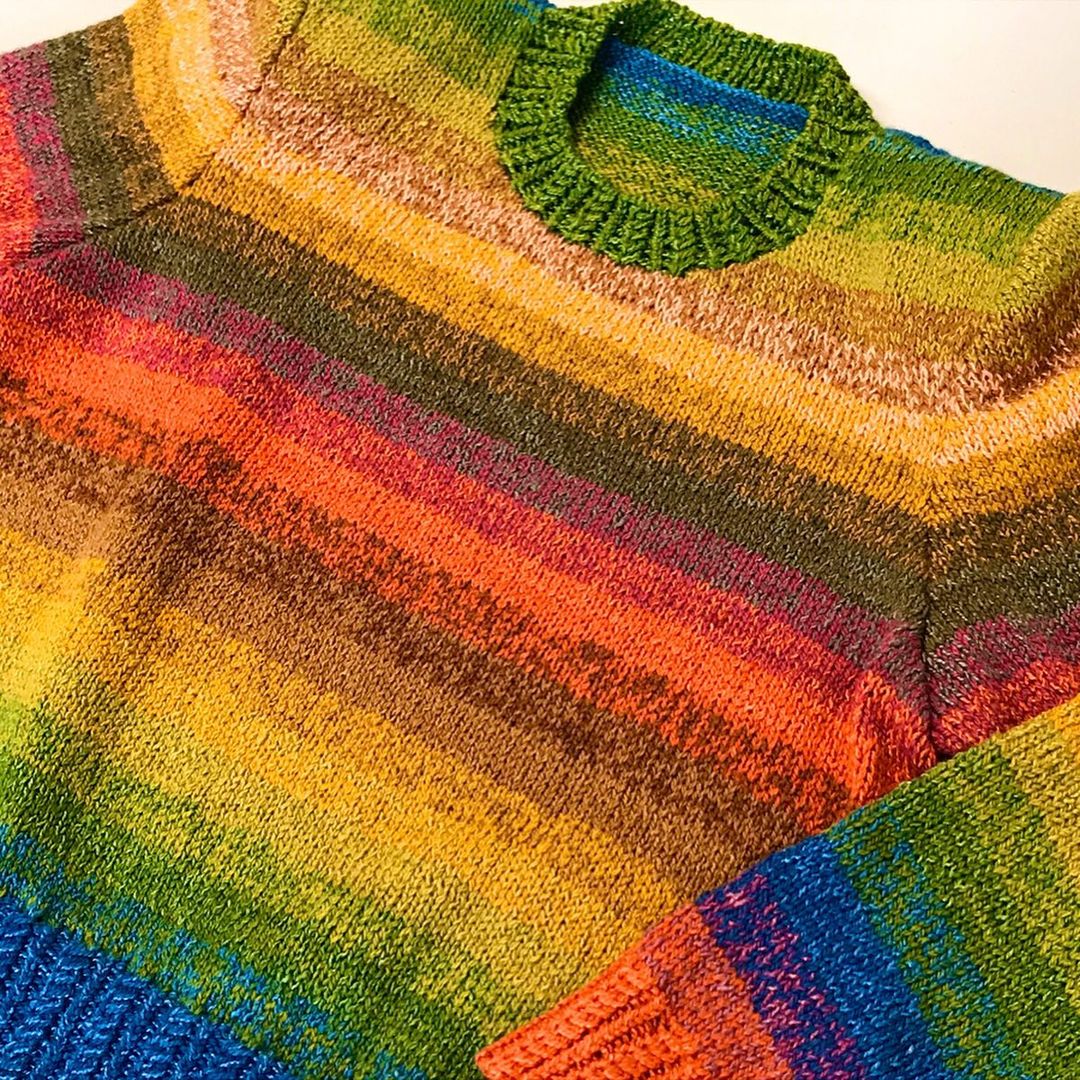

You can easily make such beautiful patterns with indigo dyeing...!
Hello, we have been running a dye shop in Tokyo for 204 years.
I am Kumajiro.
The color of indigo dyeing is beautiful, isn't it? Japan blue...
But it would be even better if you could design your patterns originally.
Today, I would like to share with you a special dyeing technique for you.
Table of Contents
1) What is indigo dyeing?
2) What is "discharge printing"?
3) How to do that?
<What is indigo dyeing in the first place?>
In indigo dyeing, a substance called indican is "oxidized" and transformed into indigo which is the indigo color pigment. When indigo dyeing is done, the initially green cloth gradually turns blue as it comes into contact with the air, because of the oxidation reaction that occurs.
*Please read this article for a more detailed explanation of the indigo dyeing mechanism.
<What is discharge printing?>
There was a chemical reaction opposite to the oxidation reaction, wasn't there?
Yes, it is a "reduction" reaction. When a reduction reaction is caused in a part of the indigo-dyed cloth, it "reverses" and the color is lost. Using a reduction reaction to remove the indigo color is called "Bassen" (抜染) in Japanese.
The picture at the beginning of this article was also drawn using the technique of "Bassen".
So, you may be thinking, "But isn't it difficult to prepare?
No, it is not like that at all.
If only the cloth dyed with indigo can be prepared, it is not difficult to do discharge printing.
It is completed in 4 steps: "Carve the stencil" ⇒ "Mix materials to make glue" ⇒ "Apply the glue to the cloth from the top of the stencil" ⇒ "Wash and boil with chemicals"!
And the following 5 things are all you need.
ーーー
☆Needed items
・Indigo-dyed cloth (cotton and linen are suitable. Silk and wool are not suitable.)
・Paper stencil
・Paste type starch for discharge dyeing (Odorless discharge paste 101)
・Powdered discharge stain agent (Discharge agent P-20)
・Reduction agent (Reduck S-50)
For more information on the indigo dyeing process, please refer to this article for the method and explanatory video. If you are new to indigo dyeing or a beginner, please refer to this article.
ーーー
The cost to prepare these chemicals necessary for the step of decoction dyeing is roughly 3,000-5,000 yen.
Now, from here, we will write about the concrete method of "Bassen".
<Method of Bassen>
(1) "Necessary items" described in ② are prepared. Let's carve the pattern on the stencil with a cutter or scissors!
(2) Mix odorless indigo stencil glue 101 and indigo stencil agent P-20 in a ratio of "4:1" and knead well. The amount of "odorless indigo discharge glue 101" depends on the size of the cloth and pattern, but 50g should be enough.
(3) After mixing the glue and the stencil agent, the color turns reddish purple. (It looks like this picture.)
(4) Place the stencil on the indigo-dyed cloth and apply this reddish-purple glue (within 3 hours after mixing) using a rubber spatula or a chemical brush. The key is to brush the glue firmly onto the cut-out areas of the patterned paper, just like in the picture!
(5) After applying the glue, leave it for 20 minutes, then wash it with hot water to remove the glue thoroughly. At this stage, the patterned area is still reddish brown as shown below, but don't worry, the color will come off beautifully in white after this.
(6) Put the cloth in 2L of water with 10g of Reduck S-50 and boil at 80-90℃ for about 15 minutes. Stirring occasionally while boiling will make the pattern more beautiful.
(7) Finally, wash in cold water and hang to dry. Such a beautiful pattern has emerged!